
This is an easy DIY tutorial to make a cute hair tie bow. You can make so many different hairstyles with this hair tie whether you're going to school or just going out it makes any outfit look a little more girly and put together!! I personally saw these when I was shopping but didn't want to buy something when I knew I could make it for much cheaper! So I decided to make my own and I've been wearing them ever since!

-ruler
-hot glue gun
-scissors
-hair tie
-fabric

The first thing you are going to do is lay out your fabric and measure a 6 inch by 6 inch square. Then cut it out so you have a square of fabric like this.

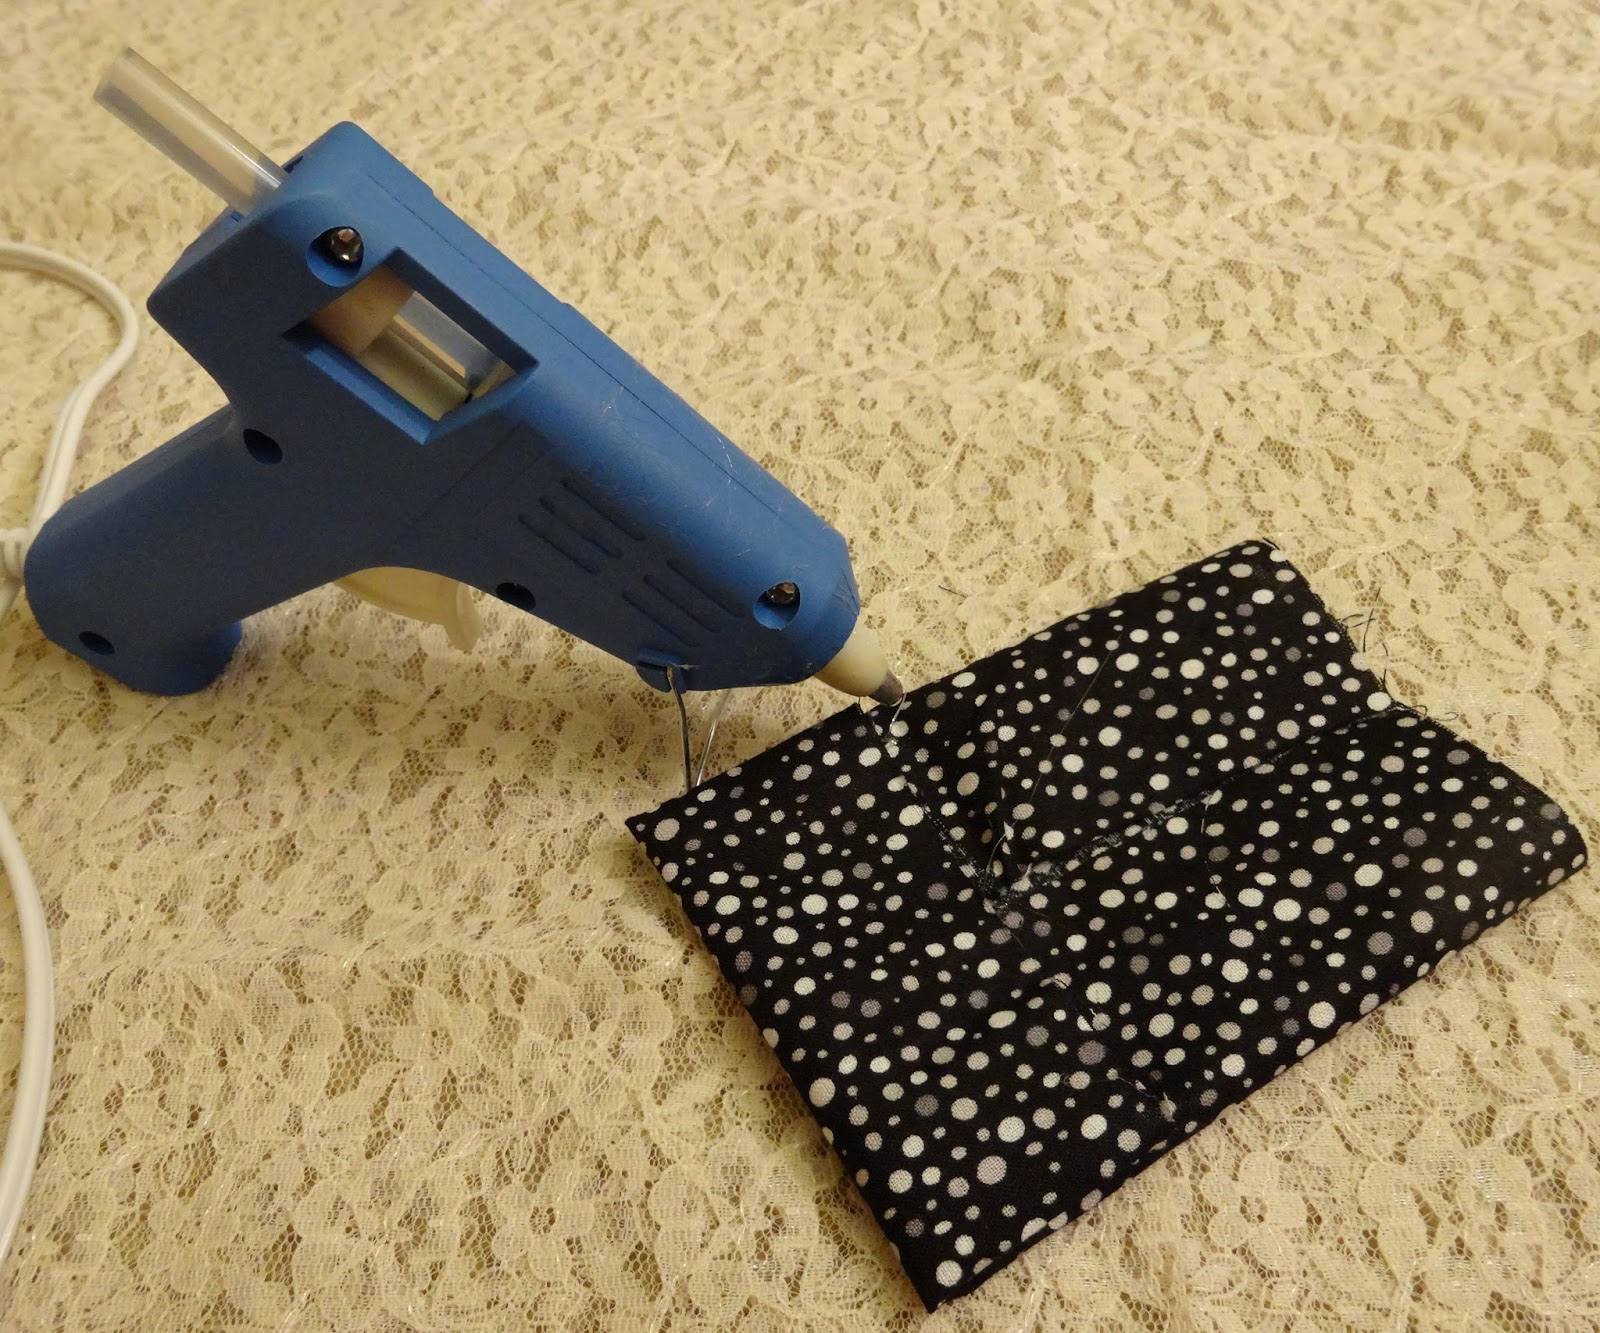
Fold the fabric square in half, and this will become the midline of the square. Then fold one side of the square to the midline and glue it down (apply a line of glue along the edge of fabric being glued to the midline).

Once you've folded one side of the square to the midline, fold the other side of the square to the midline so the edges of the fabric meet but they are not overlapping each other. Glue this side down as well.
Now you are going to fold your rectangle in half creating another midline that is perpendicular to the midline you made in the previous step. Fold one side of the rectangle to the midline and glue it down. Next do the same thing to the other side.

Next you are going to give your fabric that signature bow shape. You are going to fold the fabric in strips as if you were making a paper fan. I fold mine 4 times and pinch it in the center to give it the bow shape that I desire. Once you have the bow shape you like, put a dot of hot glue in between each fold you created and squeeze the fabric together so the bow stays pinched without having to hold it together. Do this on the front side of the bow, then flip it over and repeat on the backside of the bow (gluing in between each of the folds).

While you are letting the glue dry, cut a 1 inch wide piece of fabric. Fold the fabric twice so it is as wide or as skinny as you want for the middle of the bow. Glue the fabric together to create a fabric strip.

Next we are going back to the bow. Choose what side of the bow you want as the back of the bow. Then take the hair tie and glue it to the back of the bow in the center.

Now we are going to take the strip of fabric that we made and wrap it around the center of the bow to cover up the hair tie in the back. Wrap the strip around tight and glue it down once you like how it looks and cut off the excess fabric.

This is how it should look after you are done. As you can see the fabric is covering up the part where we glued the hair tie to the bow.

This is the final hair tie bow!! You can make it out of any fabric and it's so easy I'm sure you will end up making all different colors! Hope you try this out!
Lots of Love,
sister hearts7
 Tweet
Tweet
Love this tutorial! Thank you for sharing!
ReplyDeleteWith the PC being used for essentially more than figuring, you can find news sources setting up the power of this medium. You have unquestionable totally operational blogs which give focused content. mediosindependientes
ReplyDelete